

Driveway Pouring Instructions: Steps to Pouring a Durable Concrete Driveway
Updated: Sep 17

Steps to Pouring a Durable Concrete Driveway
Pouring a concrete driveway is a significant investment in your property. A well-done driveway not only enhances curb appeal but also provides a durable surface that can withstand years of use. Whether you are upgrading an old driveway or installing a new one, following the right steps ensures a long-lasting result. In this post, I will walk you through the essential steps to pour a durable concrete driveway, sharing practical tips and detailed instructions.
Understanding Driveway Pouring Instructions
Before starting, it is important to understand the basic process and requirements for pouring a concrete driveway. The key to durability lies in proper preparation, quality materials, and careful execution.
Site Preparation
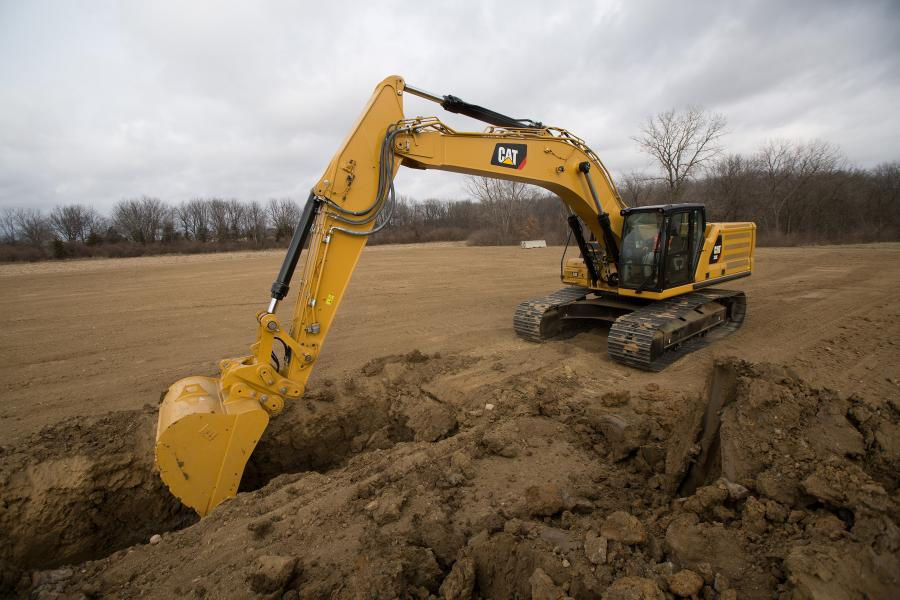
The first step is to prepare the site. This involves clearing the area of any debris, vegetation, or old pavement. Next, excavate the soil to the required depth, usually 8 to 12 inches, depending on the expected load and soil conditions. Proper excavation ensures a stable base and prevents future cracking.
Base Installation
After excavation, install a base layer of compacted gravel or crushed stone. This layer should be about 4 to 6 inches thick. Compact the base thoroughly using a plate compactor to create a solid foundation that promotes drainage and prevents settling.
Formwork Setup
Set up wooden or metal forms around the perimeter of the driveway. These forms hold the concrete in place and define the shape and thickness of the slab. Make sure the forms are level and securely staked to avoid movement during pouring.
Step-by-Step Driveway Pouring Instructions
Once the site is prepared and forms are in place, you can proceed with the actual concrete pouring. Follow these steps carefully to ensure a durable driveway.
Mixing and Ordering Concrete
Order the right mix of concrete from a reputable supplier. For driveways, a mix with a compressive strength of at least 3,000 psi is recommended. You can also add fiber reinforcement to reduce cracking. If mixing on-site, follow the manufacturer’s instructions for water-to-cement ratio.
Pouring the Concrete
Begin pouring the concrete at one end of the driveway and work your way to the other. Use shovels and rakes to spread the concrete evenly within the forms. Avoid overworking the concrete, which can weaken the surface.
Screeding and Leveling
Use a straight 2x4 board or a screed to level the concrete surface. Move the screed back and forth in a sawing motion while pulling it across the forms. This step removes excess concrete and fills low spots.
Floating and Troweling
After screeding, use a bull float to smooth the surface and push down aggregate. Once the concrete starts to set, use a steel trowel to create a smooth, hard finish. For better traction, consider adding a broom finish by dragging a broom across the surface.
Curing the Concrete
Proper curing is critical for strength and durability. Keep the concrete moist for at least 7 days by covering it with wet burlap, plastic sheeting, or using a curing compound. Avoid heavy traffic on the driveway during this period.
Can I Pour My Own Concrete Driveway?
Many homeowners consider pouring their own concrete driveway to save money. While it is possible, it requires careful planning, physical effort, and some experience with concrete work.
Assessing Your Skills and Equipment
Pouring a concrete driveway involves heavy lifting, precise leveling, and timing. You will need tools such as a concrete mixer, screed, bull float, trowels, and a plate compactor. If you lack these tools or experience, hiring professionals might be a better choice.
Time and Weather Considerations
Concrete pouring is weather-sensitive. Avoid pouring on very hot, cold, or rainy days. You also need to work quickly once the concrete arrives to prevent premature setting.
Permits and Regulations
Check local building codes and obtain necessary permits before starting. Improper installation can lead to drainage issues or structural problems, which may affect property value.
If you decide to proceed, consider starting with a smaller project or seek guidance from experienced contractors.
Tips for Long-Lasting Concrete Driveways
Use quality materials: Invest in high-grade concrete and reinforcement.
Ensure proper drainage: Slope the driveway slightly away from buildings to prevent water pooling.
Control joints: Cut control joints every 8 to 10 feet to reduce random cracking.
Seal the surface: Apply a concrete sealer every few years to protect against stains and weather damage.
Regular maintenance: Clean the driveway regularly and repair minor cracks promptly.
Final Thoughts on Driveway Pouring Instructions
Pouring a concrete driveway is a project that demands attention to detail and patience. By following these driveway pouring instructions, you can create a durable, attractive surface that serves your property well for many years. Whether you choose to do it yourself or hire professionals, understanding the process helps you make informed decisions and achieve the best results.
For those interested in pouring a concrete driveway, partnering with experienced contractors ensures quality workmanship and peace of mind. Proper planning and execution are the keys to a driveway that stands the test of time.
Ready to get started on your next concrete or excavation project? Midtex Services LLC serves the entire Dallas–Fort Worth metro.
Call us at Call 972.880.9459 or visit us online at midtexservices.com to request a free no obligation quote.



Comments