
Step-by-Step Guide to Concrete Driveway Installation
- Tim Orth

- 2 days ago
- 3 min read
Installing a concrete driveway is a significant project that can enhance the curb appeal and functionality of your property. Whether for residential or commercial use, a well-installed concrete driveway offers durability and low maintenance. In this guide, I will walk you through the essential steps of concrete driveway installation, sharing practical tips and insights to help you achieve a professional result.
Preparing for Concrete Driveway Installation
Before starting the actual installation, preparation is key. This phase involves planning, measuring, and gathering materials and tools.
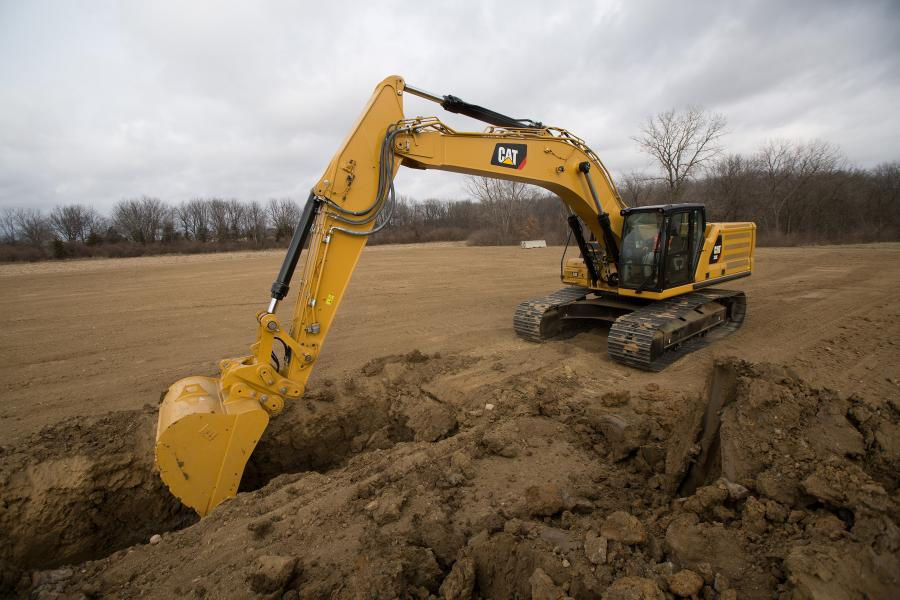
Assess the site: Check the area where the driveway will be installed. Remove any grass, rocks, or debris. Ensure the ground is level or plan for grading.
Measure the area: Use a tape measure to determine the length and width of the driveway. This helps calculate the amount of concrete needed.
Gather materials and tools: You will need concrete mix, gravel or crushed stone for the base, wooden forms, rebar or wire mesh for reinforcement, a concrete mixer or ready-mix delivery, shovels, rakes, a screed board, a float, and a trowel.
Proper preparation reduces the risk of problems during installation and ensures a smooth workflow.

Setting Up Forms and Base for Concrete Driveway Installation
Once the site is prepared, the next step is to set up the forms and base. This step defines the shape and thickness of the driveway.
Install wooden forms: Use 2x4 or 2x6 lumber to create the perimeter of the driveway. Secure the forms with stakes driven into the ground. Make sure the forms are level and follow the desired slope for drainage.
Add a gravel base: Spread a 4-6 inch layer of gravel or crushed stone inside the forms. This base provides stability and helps with drainage. Compact the gravel using a plate compactor or hand tamper.
Place reinforcement: Lay rebar or wire mesh over the gravel base. This reinforcement prevents cracking and adds strength to the concrete.
Take your time to ensure the forms are straight and secure. A well-prepared base is crucial for a durable driveway.

How much would a 20x20 concrete driveway cost?
Understanding the cost of a concrete driveway helps in budgeting and planning. For a 20x20 foot driveway, several factors influence the price:
Material costs: Concrete prices vary but typically range from $100 to $150 per cubic yard. For a 4-inch thick slab, a 20x20 driveway requires about 5 cubic yards.
Labor costs: Labor can account for 30-50% of the total cost. Rates depend on the contractor and region.
Additional expenses: These include excavation, base materials, reinforcement, finishing, and any permits.
On average, a 20x20 concrete driveway installation costs between $1,500 and $3,000. Getting multiple quotes from local contractors ensures you get a fair price.
Pouring and Finishing the Concrete Driveway
Now comes the critical phase of pouring and finishing the concrete. This step requires precision and timing.
Mix or order concrete: If mixing on-site, follow the manufacturer’s instructions. Alternatively, order ready-mix concrete from a supplier.
Pour the concrete: Start at the far end of the driveway and work towards the exit. Pour the concrete evenly within the forms.
Screed the surface: Use a straight board to level the concrete by moving it back and forth across the forms.
Float the surface: After screeding, use a bull float to smooth the surface and push down aggregate.
Add control joints: Use a groover tool to cut joints every 8-10 feet. These joints help control cracking.
Trowel the surface: For a smooth finish, use a steel trowel after the concrete has set slightly.
Cure the concrete: Keep the surface moist for at least a week to allow proper curing. Cover with plastic sheeting or use a curing compound.
This process demands attention to detail. Proper finishing and curing ensure a strong, long-lasting driveway.
Maintenance Tips for a Long-Lasting Concrete Driveway
After installation, maintaining your concrete driveway extends its lifespan and appearance.
Seal the surface: Apply a concrete sealer every 2-3 years to protect against stains and weather damage.
Clean regularly: Remove debris, oil stains, and dirt promptly using mild detergents and water.
Avoid heavy loads: Limit parking of heavy vehicles to prevent cracking.
Repair cracks early: Fill small cracks with concrete patch or sealant to prevent them from expanding.
Control drainage: Ensure water flows away from the driveway to avoid erosion and damage.
Regular maintenance keeps your driveway looking good and performing well for years.
Pouring a concrete driveway is a manageable project with the right preparation and techniques. By following these steps, you can achieve a durable and attractive driveway that adds value to your property. For those seeking professional assistance, experienced contractors in the Dallas/Fort Worth area can provide expert services to ensure your project is completed on time and within budget.


Comments